Are you interested in setting a minimum word count for WordPress posts? If you’re planning to do so, then you’re certainly in the right post.
Setting a minimum word count on your site can ensure that multiple authors are writing within content standards and fully answering the reader’s questions.
The goal of this post is to show you how to set a minimum word count for WordPress posts. At the end of this post, you’ll master how you can set a minimum word count for your WordPress blog posts.
But before starting the step-by-step process, first, you need to know one thing. That is, why do you need to set up a minimum word count for your WordPress posts?
Table of Contents
Whether your website has multiple authors or you are creating content on your own, you should ensure top-quality articles with certain standards.
A minimum word count for one’s WordPress blog post can be one of the standards you introduce. WordPress allows you to prevent thin content from being published and ensure high-quality content.
However, why would you want longer posts to be enforced?
Research suggests lengthy blog posts tend to rank higher in search results than short ones, which may help you bring more traffic to your blog.
Having said that, let’s find out how you can set a minimum word count for WordPress posts.
Adding a code snippet to functions.php files in a WordPress theme is a convenient way of ensuring that your WordPress website has a minimum word count.
You are, however, not advised to edit your theme files. This is due to the fact that your website can be negatively affected by even a small mistake, which may prevent you from accessing your WordPress dashboard.
The Code Snippets plugin makes it easy to add code to your site. By using it, you do not have to worry about your site breaking. Moreover, you can quickly and easily add new snippets to your website.
The first thing you need to do is install and activate the Code Snippets plugin. If you need assistance, check out our guide to installing a WordPress plugin.
Once you activate the plugin, hover your mouse pointer over Snippets, and then Add New from the dashboard. However, adding a tile to your custom code can make things easy for you later on.
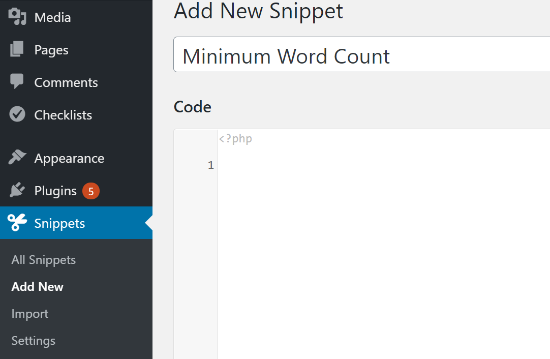
At this point, you need to copy the below code and past it into the opened Snippet.
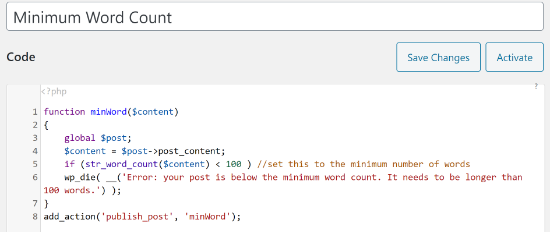
function minWord($content)
{
global $post;
$content = $post->post_content;
if (str_word_count($content) < 100 ) //set this to the minimum
number of words
wp_die( __('Error: your post is below the minimum word count. It
needs to be longer than 100 words.') );
}
add_action('publish_post', 'minWord');
N.B: It is possible to change the minimum word count to less or more than 100 (in fact whatever you want) and customize the error message to make it more helpful. Ensure that you change the numbers in both places in the code snippets.
In the next step, paste the copied code in the ‘Code’ area of your new code snippet. And, then click on the ‘Save Changes’ and ‘Activate’ buttons.
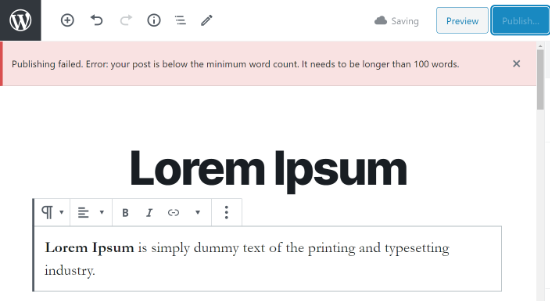
From now onwards, whenever you publish a blog post with fewer than the required word count (100 in our example), you’ll see an error message.
Well, if you would like to know how you can bulk schedule your WordPress blog because of having multi-authors, then see this guide on how to bulk schedule blog posts in WordPress easily.
Using a plugin like PublishPress Checklists can be another simple way to set a minimum word count for WordPress posts.
Checklists on PublishPress allow you to create tasks authors must complete before publishing their content. These tasks can include providing the minimum or a maximum number of words for posts or pages.
Since this tutorial requires the features of PublishPress Checklists, we can use the free version of the plugin. Additionally, a premium version is available that contains additional features, such as checklists for WooCommerce products.
In order to use PublishPress Checklists, you have to install and activate the plugin first. More details about how to install a WordPress plugin can be found in our step-by-step tutorial.
Your WordPress admin panel will show Checklists once you’ve activated the plugin. Next, the ‘Number of words in content‘ option allows you to set minimum and maximum words.
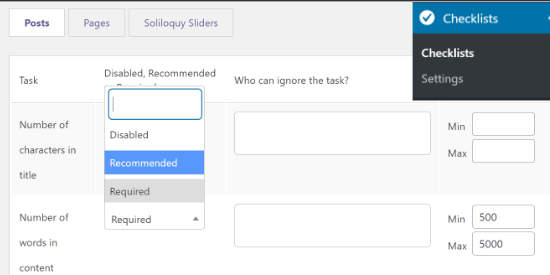
After that, you can choose from the dropdown list whether to make the ‘Number of words in content‘ option a required, recommended, or disabled option.
Authors who select Recommended are able to publish articles whose word count is below the minimum. As a result, selecting the Required option ensures you must complete the word count task. Therefore, you should select this option.
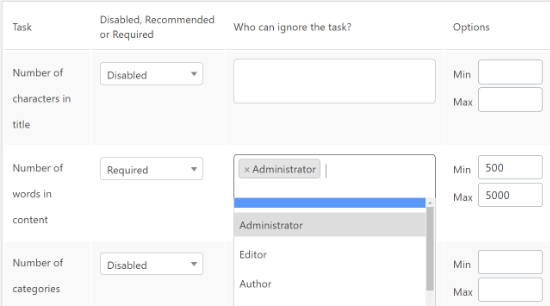
Aside from that, PublishPress Checklists allow you to exclude user roles so that they do not count towards meeting the word count requirements. Select the appropriate role from the ‘Who can ignore the task‘ column by clicking on the box.
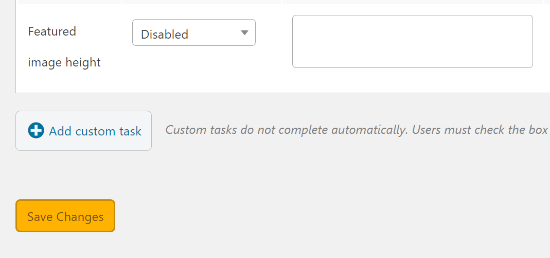
However, when you complete setting up the minimum number on WordPress, just go to the bottom and click on ‘Save Changes.‘
Let’s create a new blog post to see whether you’re able to set a minimum word count for WordPress posts or not. And, to do so, hover your cursor over Posts and then Add new.
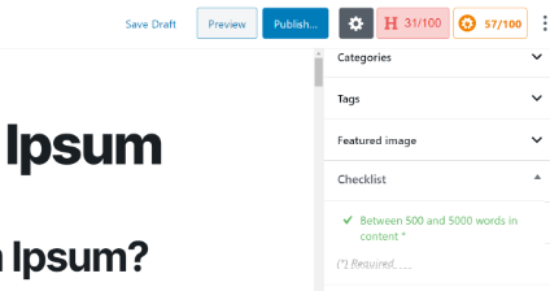
However, when you complete your blog posts without having the minimum word you set up, you’ll get a warning. The warning icon will be visible on the ‘Publish‘ button in your WordPress editor.
Besides, the Checklist setting box on your right will also show you that your posts’ word count wasn’t met up accurately.
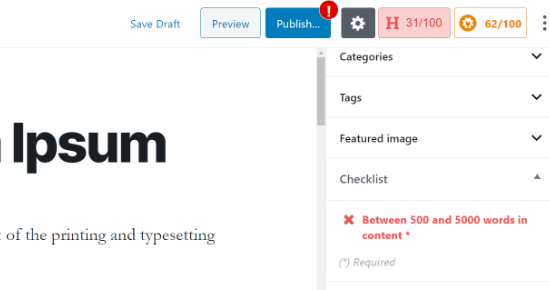
Only if your content meets the setup requirements (minimum word count), the checklist will be turned into a green one. It indicates that you or your authors are ready to go with publishing the post.
However, if you wish to make your blog posts private, then see this on how to make your WordPress blog private.
We’ve reached the conclusion of our post, and perhaps, you’ve learned something new. From now on, I hope you can set up a minimum word count for WordPress posts very easily.
If you have any questions or are confused about the procedures, please leave them in the comments area. We’ll be a text away to help you out.
Please subscribe to our WordPress video tutorials on YouTube if you enjoyed this content. We may also be found on Twitter, Facebook, and LinkedIn.


